| Previous | Contents | Index |
A user may also wish to display more information about the files displayed in the display window. There are a number of attributes of file data that can be displayed in the columns of the list.

The [Display controls...] are used to determine which file attributes are to be displayed in the columns of the media list. In order to display the File Display Controls click on the [Display controls...] button on the main window.
The File Selection Display Controls window will appear.
6.4.5 Menu operations
The menu bar is at the heart of VAULT controls, operations and utilities operations. To select a menu command, click on the menu name. Then click on the command you want. Some commands open dialog boxes. Other menus simply perform the operation on the selected file. A brief description of the menus follows:
6.5 Controls
The Controls menu is used to set and save a variety of
controls that affect the operation of the VAULT program. The
options may be saved and will be in effect the next time the program is
invoked.

The Confirm/Log menu selection is used to determine whether certain operations require confirmation and/or are logged in a log file.
The operations that may be confirmed and/or logged are:

The default Print controls are set up by selecting Print controls... from the Controls menu. See Figure 4-7. The Print controls are described in Table 4-1.

Fill in the default Print controls and left-click the
[Apply] button to save the defaults.
6.5.3 Color controls...
The Color controls menu selection is used to change the colors DISPLAYed within the MOTIF Work Center . In order to change the form colors, select Color controls... from the Controls menu. Figure 4-8 will appear.
There are four aspects of the interface controls that may be changed. These are listed in Table 4-2.
The interface controls that can be changed are listed in Table 4-3.
Select [Apply] to see if the colors are acceptable. Select
[Reset] to reset to the colors you started with. Select
[Default] to bring up the default color schemes.
6.5.4 Other reports...
Using the Other reports... controls you can determine the selection settings that will appear when you select Other reports... from the Utilities menu. The Other reports... selection on the Controls menu allows you to set those selection settings.
In order to set up the selection settings, select Other reports from the Controls menu. The selections directly relate to the report definitions. For instance, if data in the report is referred to as "Log date", you would enter "Log date" in the Report prompt column.
The Form label column is used to designate the text that will appear as the label to the field. The Button type drop down list is used when a relevant Compose... or Choice... button applies to the selection.
The Button data is ...
6.5.5 Add menu item...
Any DCL command that can be executed from your environment can be added to the Operations menu by selecting Add menu item from the Controls menu. See Figure 4-10.
The dialog box allows the user to enter the desired menu text in the
left column and the corresponding DCL command in the right column. Some
examples are shown.
6.5.6 Set help key...
On some terminals, the user may desire to map an alternate help key if the default conflicts with a previously used key or key combination. To set this option select Set help key from the Controls menu. Figure 4-11.
If the Standard radio button is selected, the keyboard will use the standard help key as dictated by the internals of the operating system.
To change the help key to a custom setting, select the
Custom radio button. Next, place the cursor in the
Enter help key field. Finally enter the key or key
combination that you will use to bring up help in the MOTIF Work
Center. The hex equivelent of that key will appear in the Key
symbol(hex) field.
6.5.7 Save options...
To save the options that have been modified in the
Controls menu as well as any Display controls,
Media selection or Search controls settings
that have been modified, select Save options from the
Controls menu.
6.5.8 Reload options...
To reload the saved options if you have modified the
Controls menu or any Display controls, Media
selection or Search controls settings, select
Reload options from the Controls menu.
6.5.9 Media Manager...
In order to run the MEDIA module described in Chapter 4,
select Media Manager... from the
Controls menu.
6.5.10 Backup Manager...
In order to run the BCKMGR module described in Chapter 5,
select Backup Manager... from the
Controls menu.
6.5.11 Restore
Opens the submenu to the other two restore procedures, Restore
entire disk and Restore via search.
6.5.12 Exit
To exit the program and return to the command prompt, select
Exit from the Controls menu. If there
are other modules open focus will return to those modules.
6.6 Operations menu
All selections in the Operations menu perform the selected operation on all files that are highlighted in the jobs list window. The Display dialog box utilizes [Next] and [Prev] buttons to cycle through all selected files. The Restore selection applies the restore operation to all selected files.
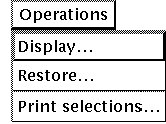
This operation may also be performed by selecting the [Display...] shortcut key on the main screen. |
The Display... selection is used to get information about a file in order to decide whether it needs to be restored. Frequently there is more than one version of a file and the desired version may not be on an in house tape. In a case like this, an alternate version of the same file may be restored explicitly.
In order to display information about a file selected from the file list, select Display... from the Operations menu. The display shown below will appear.

| Field | Description |
|---|---|
| Owner | The user name of the owner of the file |
| Size | Size of the file in blocks |
| Protection | Protection level of the file |
| Created | Date the file was created |
| Revised | Date the file was last revived |
| Expires | The expiration date of the file |
| Backup | Back up date of the file |
| Vaulted | Date the file was entered in the VAULT database |
| Record format | Format of the file record |
| Record size | Size of the file record |
| Comment | Comment associated with the file volume record |
| Location | Off-line tape or disk on which the file resides |
Using this information, the exact file for restore should be able to be
determined.
6.6.2 Restore...
This operation may also be performed by selecting the [Restore...] shortcut key on the main screen. |
In order to restore the selected files, select Restore... from the Operations menu. The list of files will appear as shown below.
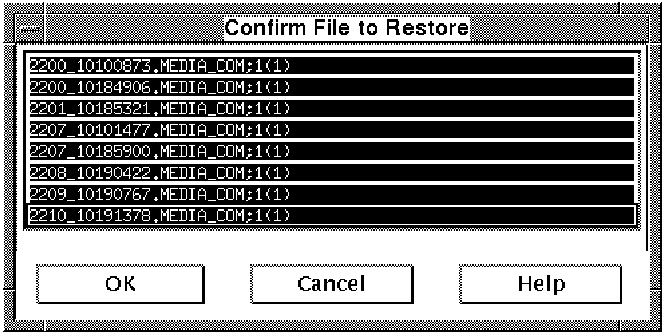
Select the [OK] button to restore the selected files.
6.7 Utilities menu
The VAULT utilities menu has only one entry that is used to create a custom report of VAULT data. The menu is shown below.
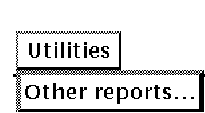
The Other reports... selection is used to create reports that have customized selection settings which were set up in the Other reports... section of the Control menu. See Section 4.3.5 for instructions on setting up these selection settings.
The middle section of the dialog box are the Execution controls for the report. This is where you designate how the report is to be displayed or printed, how wide the report will be and the submit and print controls. The Execution mode may be selected from the drop down menu as described in Table 4-12.
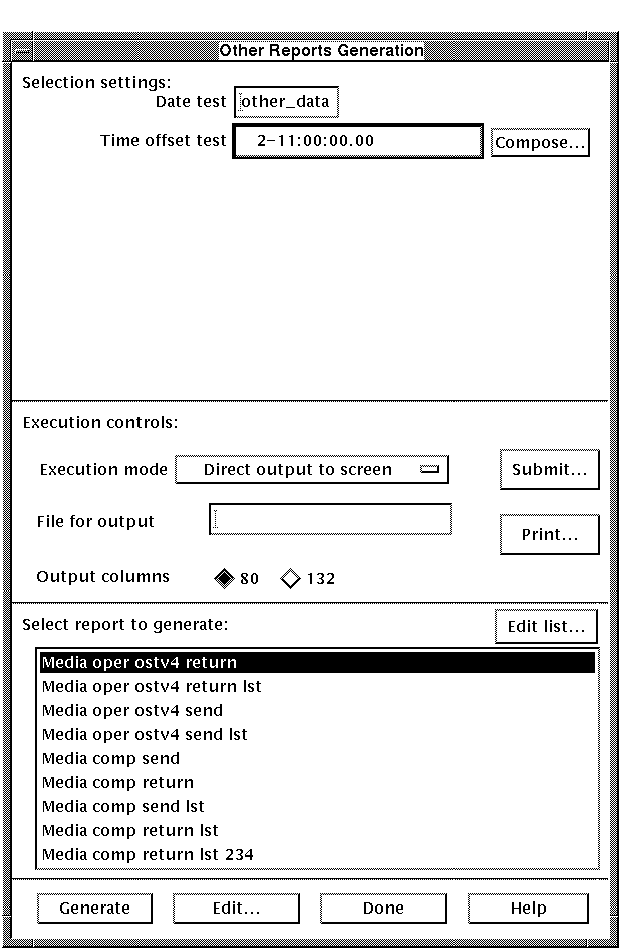
The File for output is the file the report will be output to. The execution mode designates whether the report is output to a file. The Output columns radio buttons are used to designate whether the report will have 80 or 132 columns.
The [Submit...] button allows the user to set the parameters used when submitting a report. The fields in the Submit parameters dialog box are explained in Table 4-13.
The [Print...] button allows the user to set the parameters used when printing a report. The fields in the Print parameters dialog box are explained in Table 4-1.
The bottom section of the dialog box is used to select the report to be submitted. The report list may also be edited by left-clicking on the [Edit list...] button.
The report definition may be edited by left-clicking on the
[Edit...] button. When all options are set correctly,
left-click on the [Generate] button to submit and output the
report.
6.8 Help menu
The Help menu is used to get help about the Media Manager software.

Help may be obtained in several ways throughout the program. These are:
The Help menu provides two types of help. The first
type is the help overview. This gives information on many aspects of
the program from MEDIA fundamentals to the MOTIF interface.
The other type of help is the description of menu items.
6.8.1 Overview...
In order to get an overview of the program, select
Overview... from the Help menu. The
help module is shown in Figure 4-12.
6.8.2 Top menu...
In order to get help on the menus throughout the program, select Top Menu... from the Help menu.
6.9 Restore via search
An OPERATOR may use the Restore via search facility to
selectively restore directories of files, selected files within a
directory or many directories. The capability to perform a variety of
types of searches on backed up savesets makes locating files according
to where and when they were backed up a simple task.
The file criteria should be as concise as possible. For example you don't want to search for all files vaulted in a top directory over the past year. Even with weekly backups over an entire year that list can be huge.
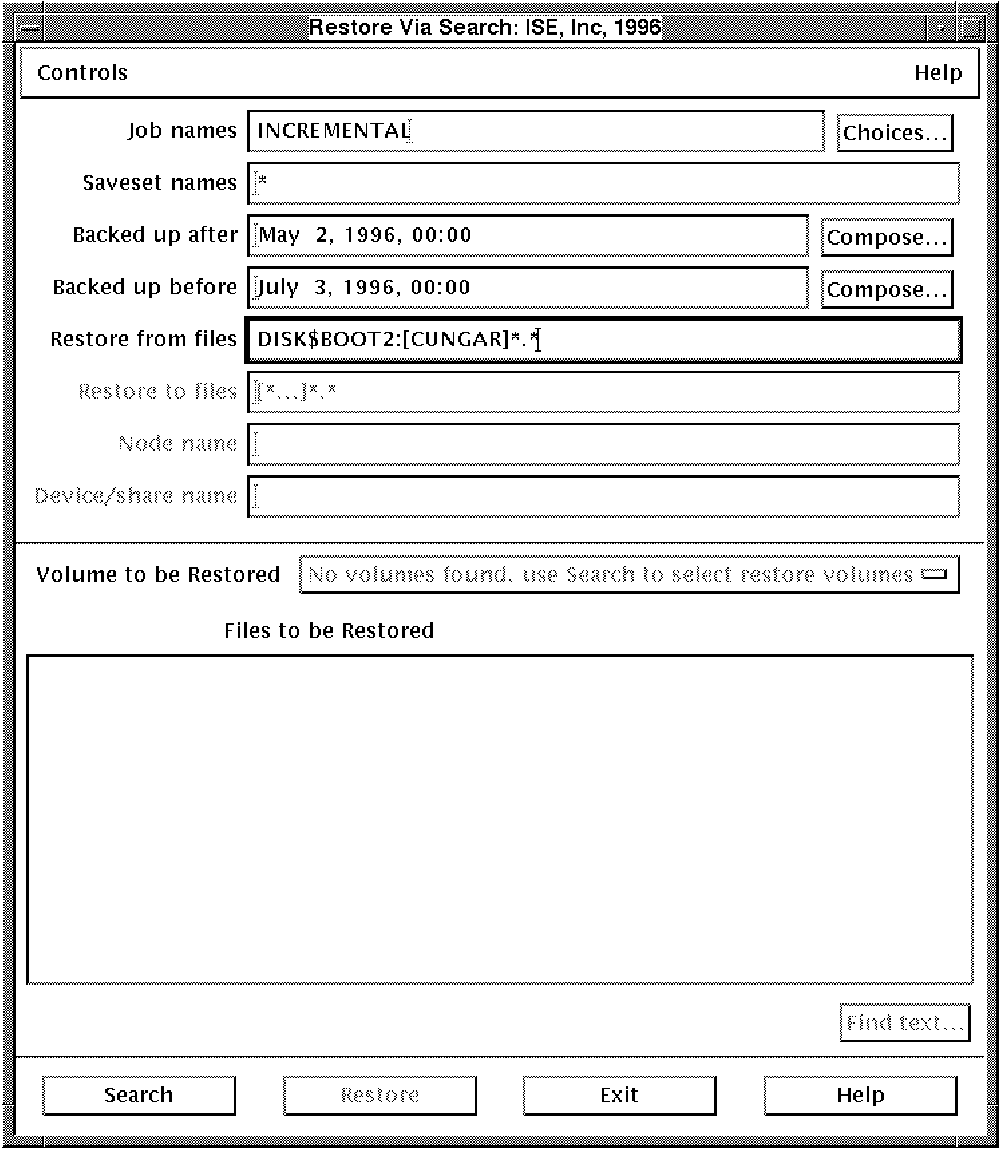
The form below shows the pre-search form. The fields in the form are as follows:
| Field | Description |
|---|---|
| Pre-search fields | |
| Job names | Select a backup job name from which to perform the search. |
| Saveset names | Select a particular saveset that is used to back up the desired files. |
| Backed up after | Selects only files backed up after this date. |
| Backed up before | Selectes only files backed up before this date. |
| Restore from files | Selects files to be restored from the job and/or savesets selected. |
| Post-search fields | |
| Restore to files | Location and or name of files when they have been restored. |
| Node name | Name of node to restore files to. |
| Device/share name | Device to restore the selected files to. |
To limit the selections in the the search list, fill in the top five fields and select the [Search] key. A listing will appear as shown below.
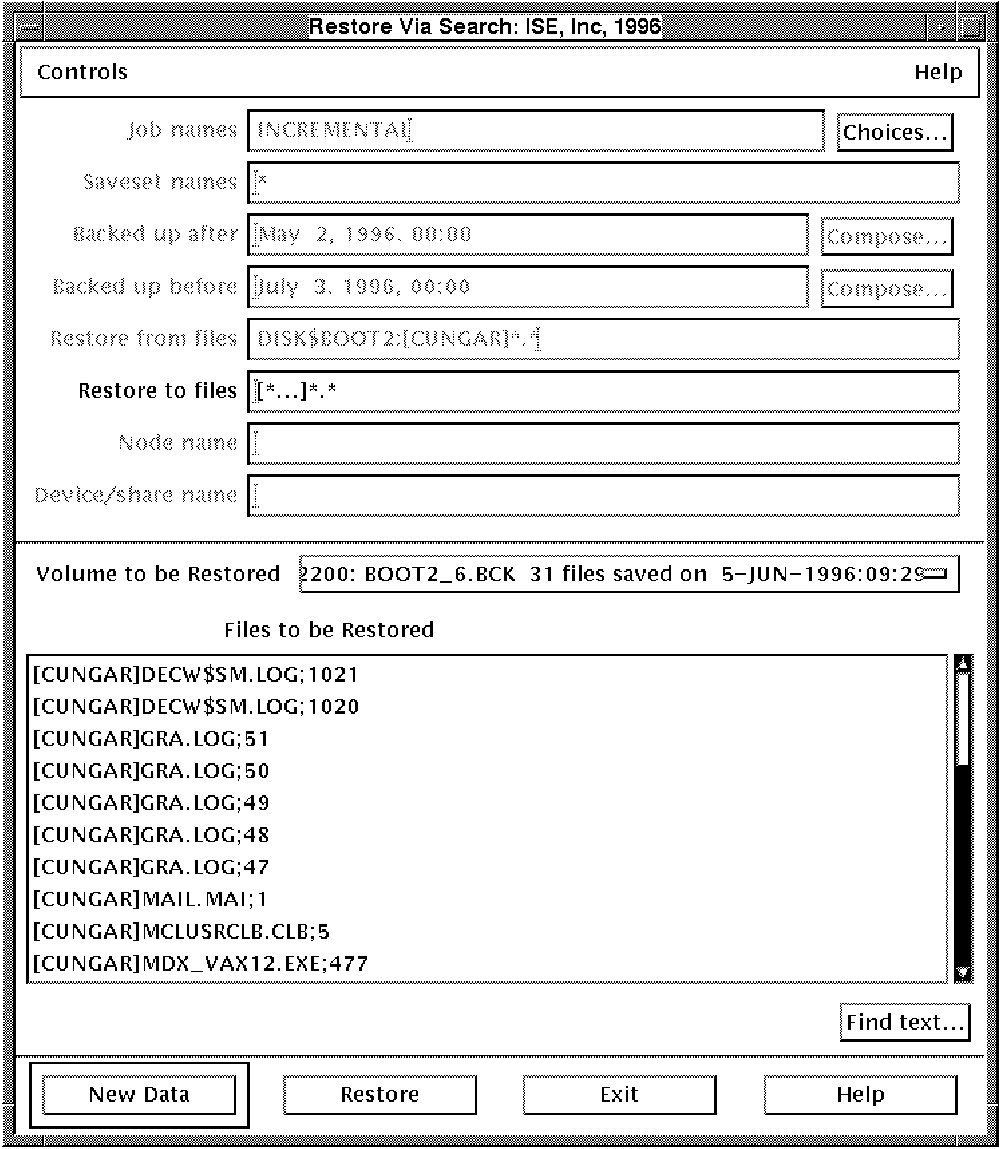
Review the search list to make sure that the correct files are contained in the list. At this point you have two choices. You can either decide to use the list and designate the listed files to the location designated in the Restore to field or select [New Data] to create a new list.
If the list is correct, select the button labeled [Volume to be] restored. Select the volume to be used for the restoration.

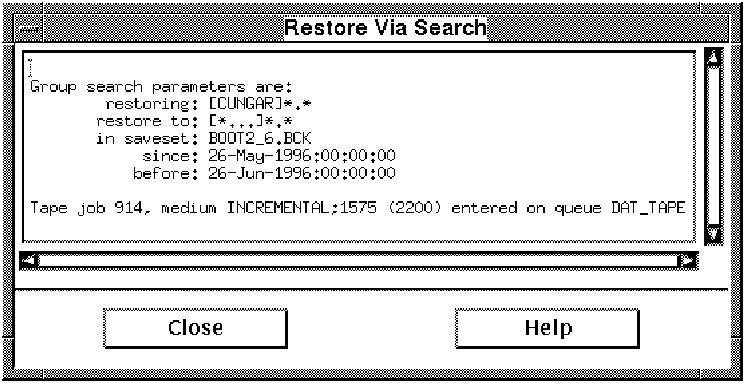
To restore the selected files, select [Restore]. A message will appear confirming the restore process.
| Previous | Next | Contents | Index |