| Previous | Contents |
2.10.3 Scan log...
Using the Scan log option the user can limit the log display to a
search string and a number of lines adjacent to that search string.
This makes it possible to pick out specific areas of the log that are
most important for viewing.
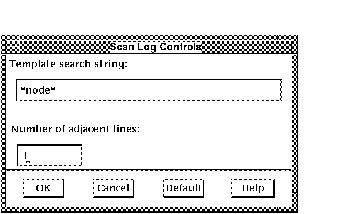
The string to be used for the search operation is referred to as the Template Search String. The field can be filled in with either a single string or a wildcard string. For instance, if the user is interested in the node information that is contained in the log, the following string can be used:
*node* |
This string will cause all lines of the log that contain the word "node" to be displayed. However, if this string is used:
node* |
only lines that begin with the word "node" will be displayed in the log.
The Adjacent lines field allows the user to also list any number of lines that are above and below the Template Search String. In order to set the Scan log options, select Scan log... from the Options menu. The form shown below will appear.

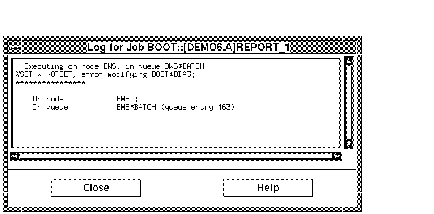
The Template search string "*node*" with the Adjacent line field set at "1" might result in the log listing shown below.

The search string may consist of multiple search strings, separated by commas. |
The History Display Setup form, described in the section on the Queue menu (section Section 2.9) can be pre-configured to display defaults when opened. This allows the user to display the same history data, even if the program is exited. In order to set the default History Display Setup form, select History... from the Options menu. The History form shown in Section 2.9.4 will appear. Fill in the form the way you want it to appear when opened from the Queues menu.
2.10.5 Monitor...
The Monitor Display Setup form, described in the section on the Queue
menu (section Section 2.9) can be pre-configured to display defaults
when opened. This allows the user to display the same monitor data,
even if the program is exited. In order to set the default Monitor
Display Setup form, select Monitor... from the
Options menu. The form shown in Section 2.9.1 will
appear. Fill in the form the way you want it to appear when opened from
the Queues menu.
| Previous | Next | Contents |