| Previous | Contents |
Occasionally the job names in the dialog box listings may not reflect the latest updates to the database. This may occur when the database has been changed outside of this session of the MOTIF Editor/Monitor. If you suspect the list is not current, the list may be updated using the Update names selection.
In order to update all job names , select Update names
from the Job menu.
2.7 Calendar
The calendar menu allows the the user to create, modify, copy or delete
a calendar which can be used in association with a job. The graphic
display features an editable full screen calendar which can be used to
mark days for job runs. The features are described in the following
sections.
2.7.1 Create...
In order to create a new calendar, select Create... from the Calendar menu.
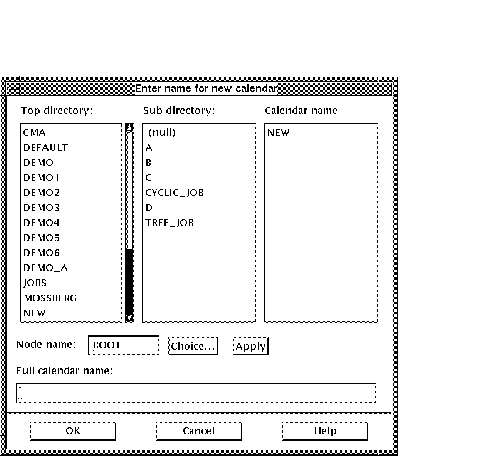
The calendar dialog box will appear. Enter the name of the new directory in the field at the bottom of the dialog box. If the node needs to be changed, enter the node name in the Node name field and select the Apply button.
Upon entering the new calendar name, the form shown below will appear.
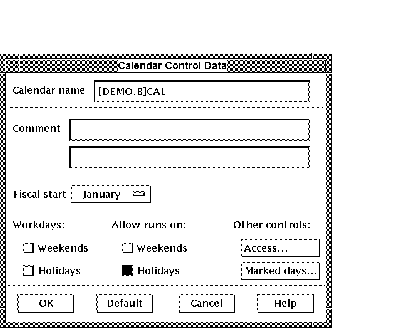
The fields in the form are described in Table Section 2.2.2.1. The Access controls for the calendar can be set by selecting the Access... button from the Calendar Control Data form.
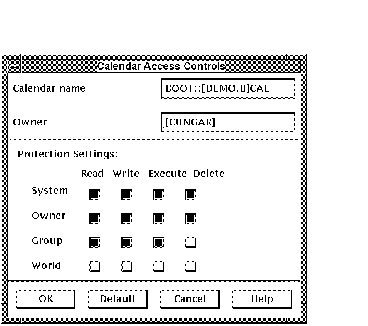
The access controls can be set for a calendar in the same way they are set for jobs and directories as described in Section 2.6.1.1.1.
The Marked days... button brings up the calendar.
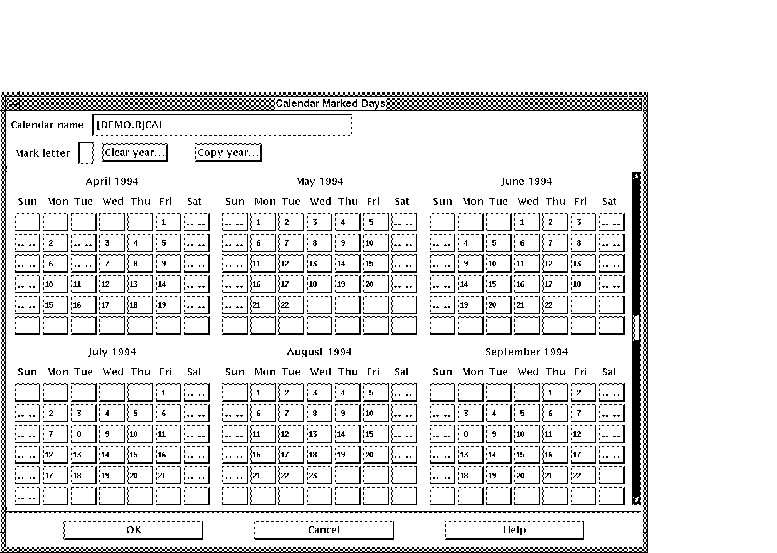
The calendar can be resized to display from 1 to 12 months. Resizing is done by clicking on the right or bottom part of the window frame and dragging it to the new position. The scroll bar on the right provides access to any group of months over a 10 year period. To switch decades, move the slider bar all the way to the top or bottom of the scroll bar.
The days can be marked with a letter for specific job runs by filling in the Mark letter field and subsequently clicking on the desired day to be marked. For instance if the mark letter were "A", the user would enter A in the Mark letter field and then click on all the days that the job was to run. When the job was defined, the corresponding calendar and marked days would be designated.
The Clear year... button on the calendar screen brings up the dialog box.
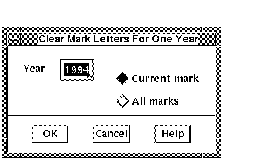
This enables the user to clear either the current mark or all marks for the designated year. In order to clear the marks for a specific year, enter the year and designate whether you want to clear the current mark or all marks by selecting the appropriate radio button.
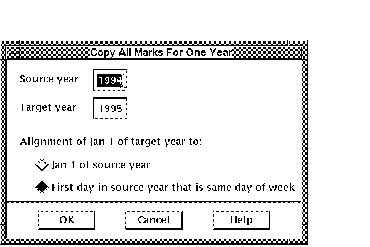
The Copy year... button on the calendar screen brings up the dialog box.
| Previous | Next | Contents |