| Previous | Contents |
The SCHEDULE Command Center shown in Figure 2-1
Figure 2-1 Command center
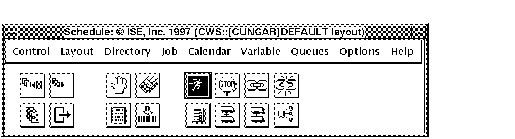
can be used to perform virtually all SCHEDULE functions. This includes the complete modification of jobs, calendars and queues. It also includes a simple way to control jobs using the Command Center icons and job group windows.
The Command Center consists of a menu bar and an icon area. The menu bar is made up of selectable menu items which configure and define the functionality of the MOTIF Editor/Monitor. The icon area consists of a collection of graphical icons which perform the most commonly chosen functions of the program. A brief description of each menu and icon follows. Detailed descriptions will appear later in this chapter.
2.1 Starting the MOTIF Editor/Monitor
The MOTIF Editor/Monitor is available to users of DECWindows work
stations and X terminals running an X server. The display is a
graphical user interface used for editing and displaying
SCHEDULE data and executing and monitoring SCHEDULE
activity. The MOTIF Editor/Monitor was installed as part of the
SCHEDULE normal installation.
To invoke the MOTIF Editor/Monitor from the command line, enter the
following command: $ @schedule_library:schx_motif
2.2 Command Center Form Data
The following sections contain tables that describe the fields of all
forms that appear when using the command center.
2.2.1 Job Form Data
The job controls determine the creation of a CONTROL record which is
first loaded with default values before user specified values are
loaded. The general descriptions of all the fields in the CONTROL file
are listed below, organized by the control button that brings up the
corresponding form.
2.2.1.1 General information
The general data is entered in the top of the Job Control Data dialog box. The general data fields are as follows.
| Previous | Next | Contents |